
Blog
Ultimate Adventure with Our Desert Safari Dubai Packages
Dubai, a city synonymous with luxury, innovation, and breathtaking landscapes, offers an array of experiences for travelers. Among these, the

Taking the most magnificent photograph of the sunset over the desert sands of Dubai is out of this world. Photographers will also love sand with golden color, the background of the sky, and the calmness of the place. Here are some beginner/intermediate tips no matter if you’re a first-time visitor or a second-time visitor with a camera on a desert evening safari:
Arrive Early
As the lighting matters a lot, the photographers should reach the location for the premium desert safari in Dubai well before sunset. This will enable you to look for that perfect place to shoot your desired scene and possibly set up your gear in the process. Also, with an early arrival, one is able to identify other interesting features in the foreground that could complement the sunset scene.
Golden Hour
Before and after the sun rises, and just before the sun sets, there is first light, which produces the warm glow that is ideal for shooting landscapes. This is a period when the sun gives elongated shadows and brings out a fairy-like feel to the dunes. Do not hesitate to begin shooting when the sun starts to droop to enable recording different shades and the surface of trees.
Use a Tripod
Stability plays an important role in making a clear and perfect shot of the sunset, especially in the evening. A rigid stand even minimizes the effects of vibrations and enables you to obtain well-exposed pictures with a greater use of exposure time. Choose a lighter tripod to carry around in the desert and one that can easily be adjusted on the desert ground.
Wide-Angle Lens
A wide-angle lens is useful when photographing large areas of desert, very high ceilings, and large bright skies. It allows you to capture more of the environment in your picture, ranging from the dunes to the sky and everything in between. Try out different distances that one has to stand to take a photograph and the one that best describes the Arabian evening safari when the sun is setting.
Rule of Thirds
Tick the rule of thirds in order to ensure that the picture has a good and balanced appearance. Use the rule of thirds and place a subject or the horizon of the image at one of the thirds or the intersecting points of the mentioned lines. This technique increases the resort and excitement of your sunset photos.
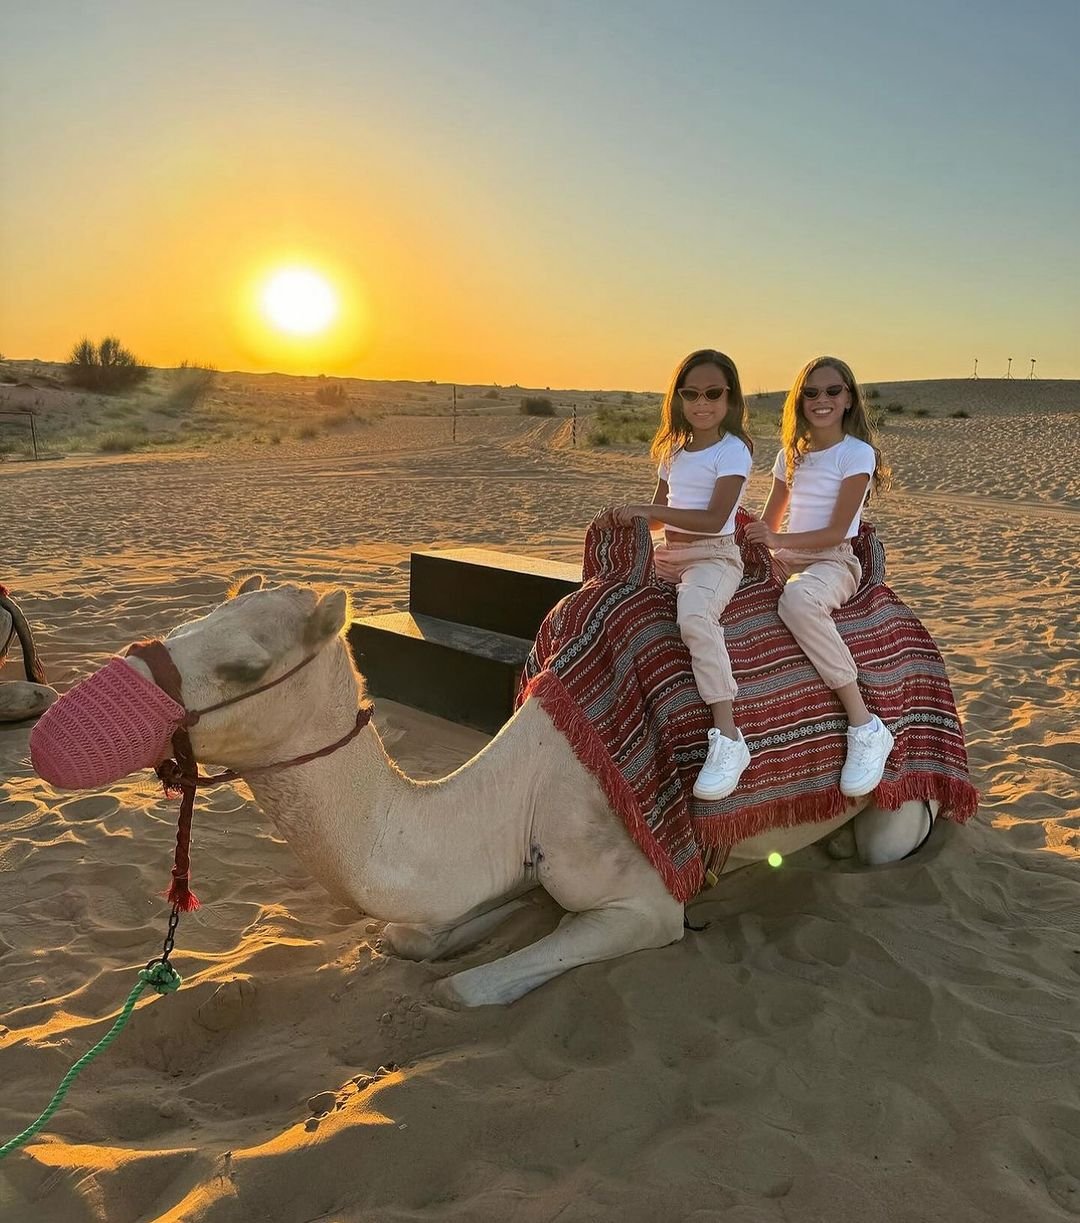
Leading Lines
Namely, make use of various lines and forms existing in the desert to direct the person’s vision toward the element that you have accentuated. Hills of sand from the ‘Dune’ formation, tracks left by dromedaries, or even shadows of the ‘Camel’ formation can be used to draw attention to the sunset or other important constituents of the scene. Get comfortable with new viewpoints to achieve interesting arrangements.
Manual Mode
In order to have full control of the exposure in the picture, set your camera to manual mode. Change the settings of the aperture (f-stop), shutter speed, and ISO to capture the right exposure in the sunset shots. Select a lower focal plane (higher f-stop) for more sharpness of objects in front of the lens and behind it.
Bracketing
When shooting in the low light of the day in a high-contrast scene such as a sunset, then exposure bracketing is the best way to go. It is also important to recommend shooting multiple exposures for the image: one shot for under-exposure, one for exposure, and one for standard exposure. This technique enables one to glue or merge pictures later with a better or improved dynamic range.
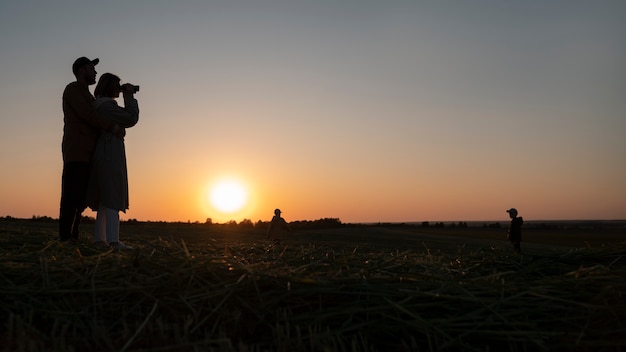
Silhouettes
Try to focus on silhouettes and how they look against the bright background of the sunset. Sight your subject matter – be it people, camels, or other forms of plant life – between the scenes, your camera, and the setting sun to be able to achieve more dramatic silhouettes. Tweak your exposure control to make the sky recorded capture retain those vibrant colors while your subjects are mere silhouettes.
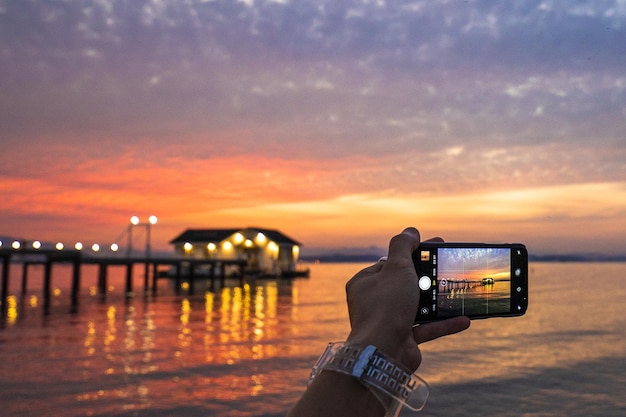
Reflections
In the desert, if there are some water puddles or any reflective surface, then try to take reflections of the setting sun. Try to shoot your reflection in close proximity to the actual sunset scene, and always position your camera low to the ground to make your pictures have dimensions.
Warmth and Tone
It’s important to know that the settings that can be changed on your camera are the white balance, and these have a great say on how the pictures you come up with look, especially when it comes to sunsets. If it is the glowing dim orange-red of the sunset in the desert, set the white balance to “Cloudy” or “Shade.” This increases the ‘heat’ of the resulting image, further improving the color saturation of the scenes. As a less warm mode, the “Daylight” mode may be used while the “Sunset” mode is used in an environment that requires more red or orange exposure, such as during sundown.
RAW Format
Usual shooting in RAW format will give an opportunity to retain the maximum of details and have nearly infinite possibilities in the post-processing area. The RAW format keeps more data than JPEGs and is useful for editing exposure, color temperature, and other options without reducing picture quality. RAW files consume more space on record media and need post-processing after the capture of sunsets, but retain more flexibility to work with shots in the desired manner.
Cloud Patterns
Try to observe the cloud formation and the pattern when you are on a desert safari evening. Clouds should also be captured because they enhance dramatic elements within your sunset photos by contrasting with the colors within the sky. Patiently choose a cloudy day when the air turns into a pink, orange, and purple hue at the setting of the sun. Low rate of movement and waiting for the perfect clouds to appear at the time of your photography session.
Post-Sunset Glow
In other words, the magic that comes with a sunset in the middle of a desert does not stop with the setting of the sun. Get to the location after sundown because this creates what is dubbed as ‘blue hour. ‘ Blue hour is about 20-30 minutes following the sun’s set when the sky, the sand, and all the features in the desert take on a bluish tint. Whoever is seeing the image should immediately notice that longer exposure times were used to capture the calm mood of the photograph, as well as the fact that even though the sun has set, it casts the last light on the sand and the sky.
Conclusion
Shooting the sun during the safari in the desert of Dubai is an incredible process in which beauty and creativity are intertwined at the same time. Apply these tips for timing, equipment, composition, and technique. You will easily take marvelous shots that would give the feeling of being in the Arabian desert in the evening. No matter how bright the colors are, how prominent the silhouettes are, or how calm the reflections are, each sunset photo has a different story of the fascination of the desert to narrate. Take the opportunity of the sun-setting glamour shots in the dunes of Dubai as a challenge, which definitely adds flair to the shots that are taken.
Dubai, a city synonymous with luxury, innovation, and breathtaking landscapes, offers an array of experiences for travelers. Among these, the
Dubai, known for its modern skyline and luxurious lifestyle, also boasts one of the most magnificent natural landscapes in the
At Luxury Desert Dubai® we’re more than just a tour agency.